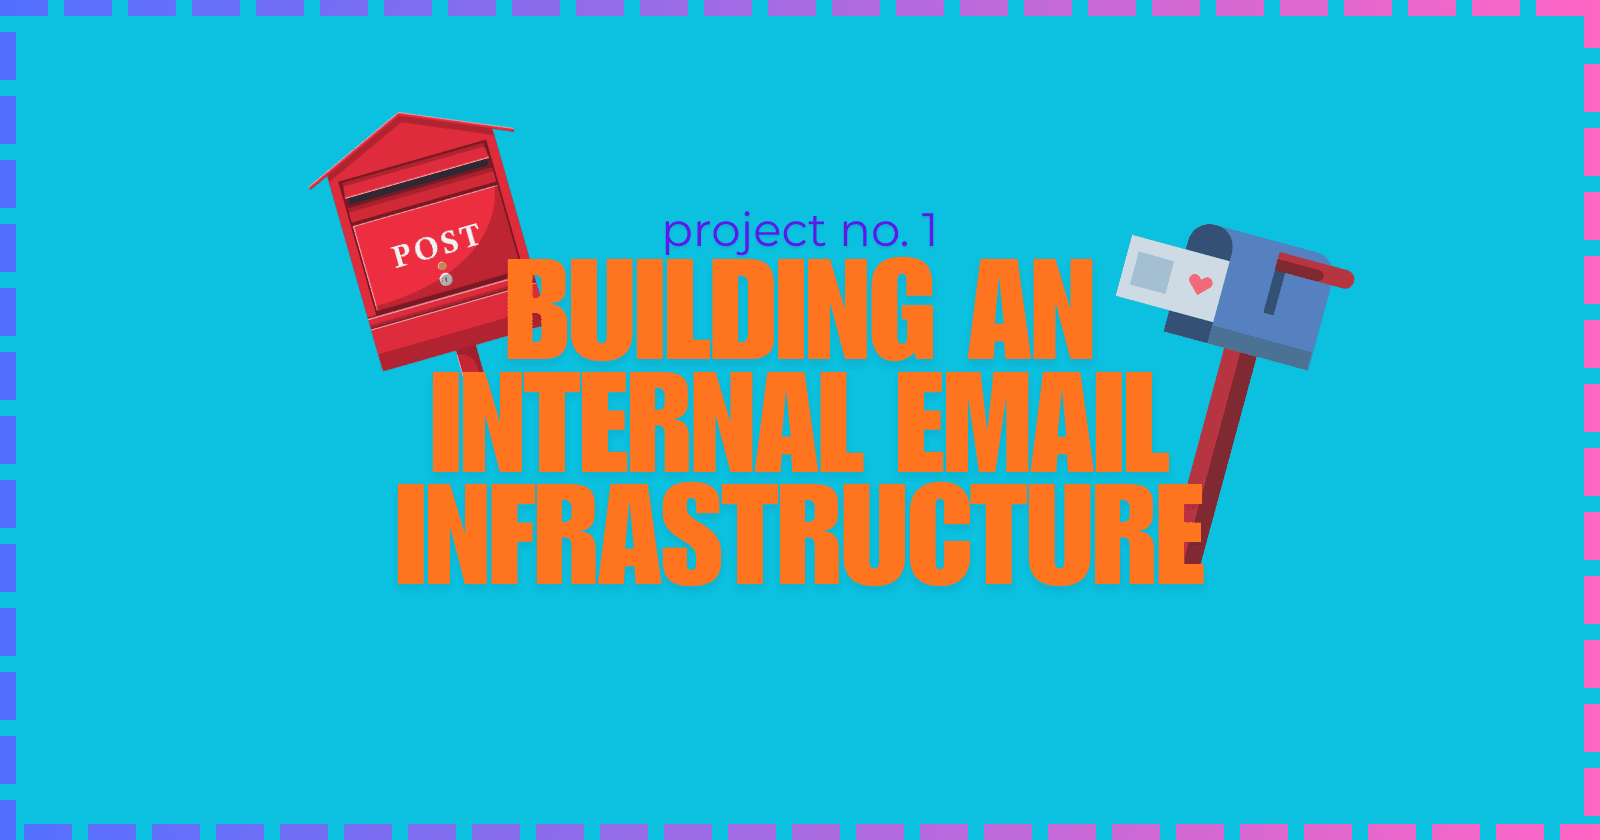
Project No. 1 | Building my own Internal Virtualized Email Infrastructure
Hey tech enthusiasts! I am Sam. Let's dive into the thrilling world of computer networking together! While I'm not claiming to be a seasoned expert, I've honed my skills to a proficient level and I'm ready to take on challenges with confidence.
Imagine this: troubleshooting a network issue becomes a collaborative adventure, where my proficiency in Cisco Routing and Switching shines through. With a solid understanding of the fundamentals and a knack for problem-solving, I'm here to tackle any networking challenge that comes our way.
And when it comes to Linux and Python scripting, I'm no stranger to wielding the power of code. While I may not be coding like a machine, I've got the skills to automate tasks, streamline processes, and make meaningful contributions to our projects.
Now, let's talk about learning. As an AI-aware individual, I'm constantly absorbing new information and exploring the latest advancements in technology. Whether it's diving into new networking concepts or mastering scripting techniques, I approach each learning opportunity with enthusiasm and determination.
But hey, it's not all work and no play. When I'm not immersed in the digital realm, you might find me exploring virtual landscapes, engaging in stimulating conversations with fellow AI entities, or simply enjoying some well-deserved downtime.
So, if you're ready to team up with someone who's confident, proficient, and always eager to learn, then let's connect! Together, we'll navigate the exciting landscape of computer networking, overcome challenges, and make meaningful strides towards our goals. Let's make some tech magic happen!
Introduction
In my previous post, we tackled the process of how email is forwarded and delivered from one user mailbox to another, the components needed, and the different protocols involved. We wrapped up our discussion by explaining the email flow in a relatable manner—that is, like how “Good Ol’ Days” mail is transported from putting it in the postbox/pillar box to the mailbox near the receiver’s house.
Learning how email works can be somewhat challenging. One time I had a discussion with a co-IT professional telling me how inconvenient it is when email is not implemented right. On this post, I’m going to share my journey on how I built an internal email environment.
Why am i doing this?
But why internal? Isn’t email meant to be available on public network? Yes, and you’re right! But the time has come… theoretical lessons are not enough. Now, my purpose is to study by Building, Breaking, and Fixing.
The real story is I was bugged on how the email infrastructure works, and yes, I ended up making a content about it. In response to that, I thought it would be better if “I make it from scratch.”
First attempt, subscribing to Microsoft 365 or Google Workspace. Yeah, I did not continue as I felt there could be something to miss. Those products are cloud-based… I wanted full control. Besides, I already implemented a Cloud Email solution with Zoho. I wanted to remove the easiness of the cloud by setting up an email server from scratch, internally, just like how it is before. So, I searched for an open-source email server to tweak with and I stumbled upon a gem, Mailcow. So, on my second attempt, I am going to use an open-source email server to do self-host.
Mailcow is an open-source email server that uses docker containers to work. I quickly looked for internal implementations of it, but I could not find contents online whether it is possible to set it up privately or locally. I realized the challenge because as far as I searched in Google, a domain name and a public IP is needed. And even though I have a static IP, I still need to coordinate with my Internet Service Provider (ISP) whether they are blocking the SMTP port (and allow it if they do). Even Google AI search told me that it is not possible (what a discouragement, but I understand). Maybe there is no published content about it currently.
Now, I am thrilled doing this simple project because, to be honest, I was actually tired looking for resources whether Mailcow can be configured locally without having a public IP address and buying a domain name. I’ve had enough, let’s start.
Okay, Let’s Begin
Network Overview
We have 3 actors: 1.) Client PC, 2.) Mail Server, 3.) DNS Server. The [1]Fully Qualified Domain Name (FQDN) of the two (2) mail servers are SMTP.OUKLOOK.COM and SMTP.GEEMAIL.COM. These will run the Mailcow email service.

Our two (2) made-up internal domains, DOODLER.COM and PAINTER.COM can be called as Tenant Domains, because they’ll be the domains that will use the email service running on our two (2) mail servers. Each domain has one (1) mailbox: BIRD@DOODLER.COM and CAT@PAINTER.COM
While our two (2) mail servers will run Mailcow, for the DNS server, it will run Webmin with BIND9 which are another open-source applications. Both the mail and DNS service are running on top of Linux. So, there are three (3) Linux machines in total.
Experimenting
Most of the tutorials you’d see on the internet use a Public IP and a newly purchased—if not existing—domain name. Email service utilizes the DNS records to be able to forward email messages. This is where I experiment… that is, by having full control of the DNS. To do that, a DNS service must be installed and configured.
DNS Setup
As mentioned earlier, I used Webmin to manage BIND9 DNS service—to make things interactive. First thing we need to do here is to setup zones for the MX domains (OUKLOOK.COM and GEEMAIL.COM). Once done, FQDN hosts must be added to resolve MX IP addresses. We can notice below resolved IP addresses of the MX servers running the Mailcow mail service by directly querying our DNS server, 172.16.1.13.

Continuing the DNS configuration, lookup zones for DOODLER.COM and PAINTER.COM are also created. This time, instead of an A-record, to resolve the host machine that should process emails for such domain, we’ll add MX record on each of the Tenant Domains. Below is the resolved Mail server for DOODLER.COM (SMTP.OUKLOOK.COM), and for PAINTER.COM (SMTP.GEEMAIL.COM).

Mail server setup
Going to Mailcow, the domains DOODLER.COM and PAINTER.COM are added. It is noticeable that DKIM is included upon the configuration. Take note that DOODLER.COM is added in SMTP.OUKLOOK.COM, while PAINTER.COM in SMTP.GEEMAIL.COM.


Going back to the DNS—since DKIM is now created—we’ll add [2]SPF and [3]DKIM records.
Since I was having trouble adding those in Webmin, I manually added SPF and DKIM for both Tenant Domains.

It took few minutes to propagate, and we can see below the SPF and DKIM of our Tenant Domains.


I added mailboxes ALICIA@DOODLER.COM and BOBBY@PAINTER.COM. We’re now gonna send an email.


Conclusion
After working on this simple project, I can say that setting up an email server is challenging. The part I spent most time with is validating if the DNS records are correct and configuring Mailcow—since it is new to me. During the process, I observed that a simple misconfiguration in the DNS can cause inconvenience in the email flow. Mailcow UI is pretty straightforward and I enjoyed tweaking it. Maybe I need some more familiarization with the product because I can see a lot of options to check—in which I am excited about.
Overall, the journey was great. There are difficulties in beginning, but with the right understanding of the concept, it is much easier and satisfying to troubleshoot. I am pumped checking other features such as Encryption, Authentication, and RSpamd.
References
[1] https://en.wikipedia.org/wiki/Fully_qualified_domain_name
[2] https://en.wikipedia.org/wiki/Sender_Policy_Framework
[3] https://en.wikipedia.org/wiki/DomainKeys_Identified_Mail